How to Pick an Emergency Kit for RVs: Checklist & Gear

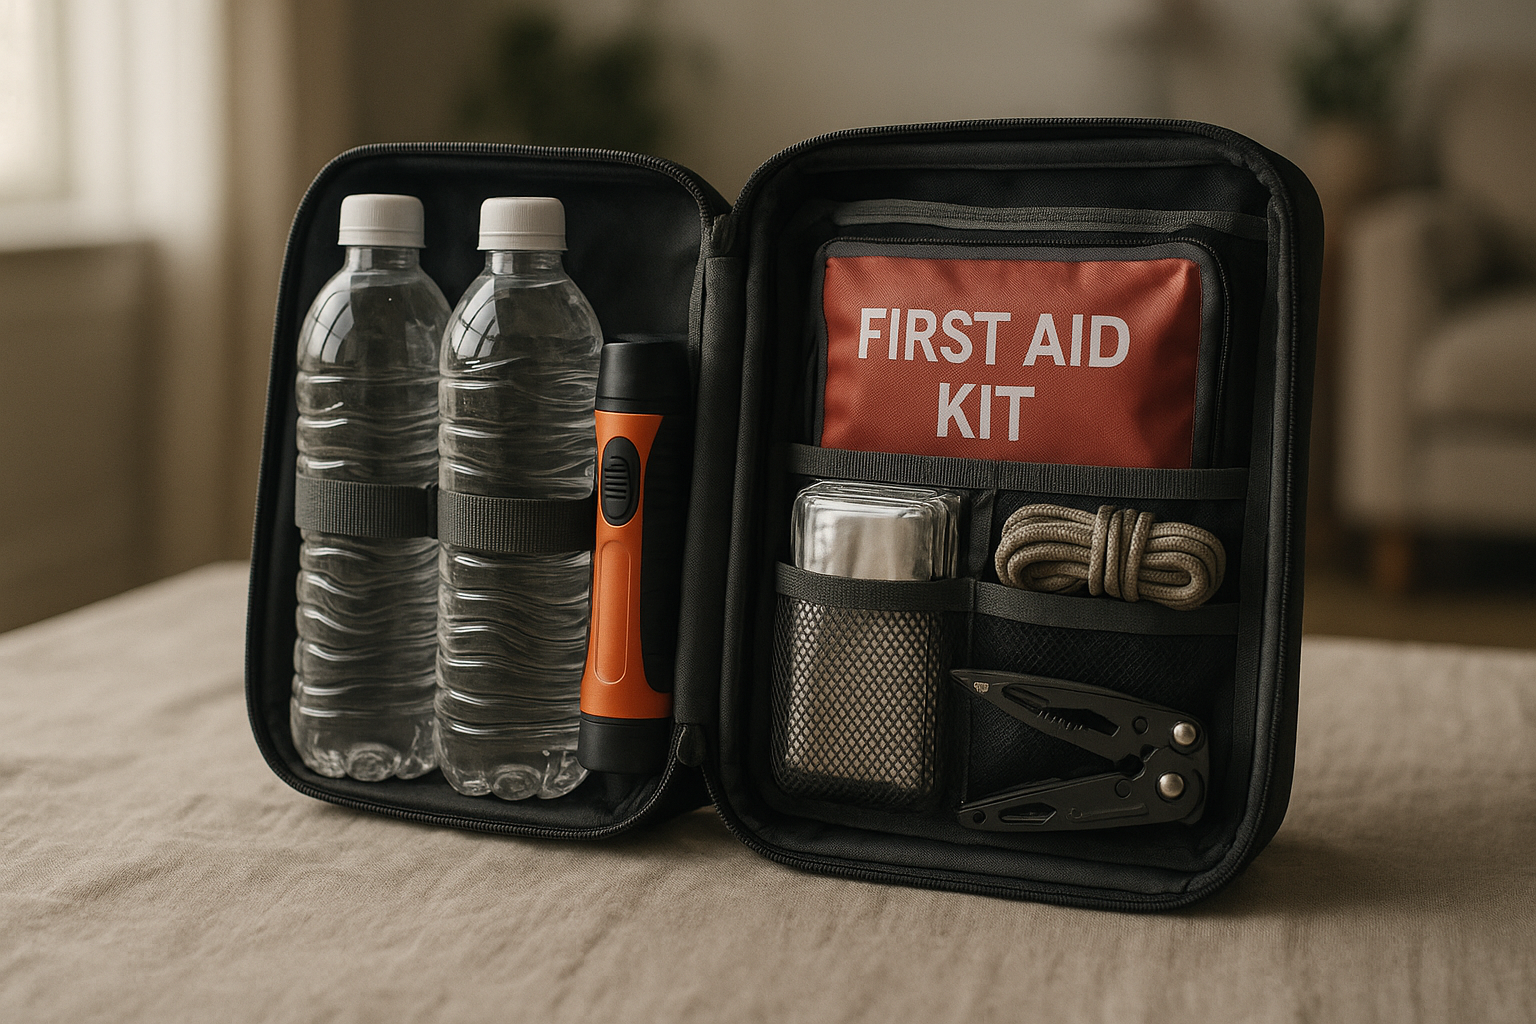
Photo by Mathurin NAPOLY / matnapo on Unsplash
How to Pick an Emergency Kit for RVs: Checklist & Gear
Most RV emergencies fall into three categories: mechanical breakdown, medical incident, and power loss. A proper emergency kit addresses all three, scaled to your travel style and how far you roam from help. This guide walks you through what to pack, why each item matters, and how to avoid the common mistake of loading your rig with gear you’ll never use.
Why RV Emergency Kits Differ from Home Kits
Your RV is a vehicle first, a home second. Home emergency kits assume you stay in one place with access to utilities and neighbors. RV kits must account for:
- Isolation: You may be 40 miles from the nearest town, with no cell signal.
- Mechanical dependency: Your rig is your shelter and your transport. A breakdown isn’t just inconvenient—it’s a survival situation if you’re in extreme weather.
- Limited utilities: No grid power, no running water, no HVAC if the engine dies.
- Weight and space constraints: Every pound and cubic foot counts in an RV.
An RV kit must be lean, multi-purpose, and tested before you need it—fundamentally different from a stationary home setup.
Core Categories to Cover
1. Power and Charging
A power outage in an RV means no water pump, no refrigeration, no climate control, and no ability to charge phones or run critical devices. This is your single highest-priority category.
What to include: - Portable power station: A mid-tier unit (500–1500Wh) covers fridge, lights, and device charging for 1–3 days depending on usage. Full-timers and boondockers should size up; weekenders can go smaller. See How to Choose a Portable Power Station: Wattage, Capacity & Runtime Explained for sizing guidance. - Portable solar panels: 100–200W of panels extends your power station’s runtime indefinitely if you’re stranded in daylight. Per manufacturer specs and owner testing on r/boondocking, 100W panels add roughly 8–12 hours of runtime per day in clear conditions. - 12V car charger for your power station: Lets you top up from the RV’s auxiliary battery or a running engine. - Backup battery pack for phones: A small 10,000–20,000mAh unit is lightweight insurance. - Jumper cables or portable jump starter: Engine won’t turn over? A jump starter is faster and safer than flagging down help.
See Best Portable Power Station for RV Camping: Boondocking Guide for detailed power-system recommendations.
2. First Aid and Medical
RV travel often takes you far from hospitals. A standard car first-aid kit is insufficient; you need depth for minor injuries that could become serious if untreated.
What to include: - Comprehensive first-aid kit: Look for kits labeled “vehicle” or “emergency” with 150+ pieces, including trauma supplies like Israeli bandages and tourniquets. These handle most RV scenarios better than hiking kits, which prioritize lightweight over depth. - Prescription medications (yours and companions’): Keep a 30-day supply in your kit, separate from your daily stash. Include copies of prescriptions. - Over-the-counter essentials: Anti-diarrheal, antacid, antihistamine, ibuprofen, acetaminophen, and hydrocortisone cream cover the majority of minor complaints. - Tweezers, nail clippers, thermometer: Small, multi-use tools that prevent infections. - Antibiotic ointment and burn gel: RVs have propane stoves and hot-water heaters—burns happen. - Elastic bandages and athletic tape: Sprains and strains are common during setup/breakdown and outdoor activities. - CPR face shield or pocket mask: Lightweight, inexpensive, and necessary if you’re traveling with family or friends.
See Best First Aid and Survival Kits for Camping Trips for kit recommendations and Essential Lightweight Emergency Gear for Van Life & Camping for compact medical options.
3. Tools and Mechanical Repair
Most RV breakdowns are fixable with basic tools and spare parts. Carrying the right ones saves towing fees and keeps you mobile.
What to include: - Multi-tool: Leatherman Wave or Victorinox SwissTool are reliable per verified user reports on r/vandwellers and r/rvlife for durability in long-term RV use. A full-size model (not a keychain) handles plumbing, electrical, and structural repairs. - Adjustable wrench, socket set (metric and SAE), screwdrivers: Covers 90% of RV repairs. Don’t go overboard—a compact set weighs less than 3 lbs. - Plumbing repair kit: Hose clamps, Teflon tape, epoxy putty, and a spare length of hose. Water leaks are common and fixable on the roadside. - Electrical tape, wire connectors, spare fuses: RVs have complex 12V and 120V systems. A blown fuse or loose connector can kill power. - Spare belts and hoses: Ask your RV’s manufacturer or dealer which belts/hoses are most prone to failure. Carry spares. - Tire repair kit and portable air compressor: A plug kit and 12V compressor weigh little and handle most punctures without a tow. - Spare engine oil, coolant, and transmission fluid: Carry small bottles (quarts) of what your RV uses. Engine overheating or low oil can strand you if you’re far from a service station. - Jumper cables or portable jump starter: Listed above but critical enough to repeat.
4. Shelter and Weather Protection
If your RV becomes uninhabitable (extreme heat, cold, or structural damage), you need a backup shelter plan.
What to include: - Emergency thermal blanket or space blanket: Ultra-lightweight, folds to pocket size, reflects body heat. Per manufacturer specs, one blanket can extend survival time in cold by hours. - Heavy-duty tarp or emergency tent: A 10×10 tarp and rope weigh under 5 lbs and create shade or windbreak in minutes. - Sleeping bag rated for your region’s low temps: Don’t assume your RV’s heater will work. A 20°F bag is standard for most of North America. - Extra blankets or quilts: Stored in a vacuum bag, they add minimal weight and serve double duty as insulation if the furnace fails. - Indoor-safe propane heater: Coleman Catalytic Heater Model 5010 (3,000 BTU, 99% fuel efficiency) is designed for safe indoor use with ventilation and a carbon-monoxide detector. Per manufacturer guidelines, maintain 6-inch clearance from walls and never use without a CO detector running.
5. Water and Food
An RV’s water system can fail (frozen pipes, pump failure, contamination). You need backup drinking water and non-perishable food for at least 3 days.
What to include: - Drinking water: Store 1 gallon per person per day, minimum 3 days. Rotate it every 6 months. Food-grade containers only. - Water purification tablets or portable filter: Lifestraw or similar filters are lightweight and handle most contamination. - Non-perishable food: Calorie-dense items (nuts, energy bars, peanut butter, canned soup, crackers). Aim for 2000 calories per person per day. - Manual can opener: Essential if your electric opener fails. - Electrolyte replacement packets: Dehydration is a silent risk in RVs (dry air, forgetfulness). Packets are light and address it quickly.
6. Communication and Navigation
Cell service fails in remote areas. A backup communication method and paper maps are non-negotiable.
What to include: - Paper maps of regions you travel: Waterproof if possible. GPS and phone maps are great until the battery dies. - Whistle: Carries farther than voice, uses no battery. A bright whistle is under 1 oz. - Headlamp or flashlight: Two sources (one backup) with extra batteries. Headlamps are better than flashlights because they free your hands. - Emergency contact list (printed): Phone numbers of family, your insurance, roadside assistance, and RV service centers. Don’t rely on your phone’s memory. - Satellite communicator (optional but smart for serious boondocking): Devices like Garmin inReach let you send/receive texts and SOS when cell is dead. Per manufacturer specs, they require a subscription but are insurance in true wilderness.
7. Documents and Identity
Damage, breakdown, or accident requires proof of ownership, insurance, and medical history.
What to include: - RV title and registration (copies in a waterproof folder). - Insurance documents: Policy numbers, agent contact, coverage details. - Medical summary: Blood type, allergies, medications, emergency contacts. Laminate it. - Copies of IDs and passports: Stored separately from originals. - Photos of your RV (exterior and interior): Proof of condition for insurance claims.
8. Safety and Security
RVs are targets for theft, and solo travelers face additional risks.
What to include: - Personal alarm or whistle: Loud deterrent, no batteries required. - Pepper spray or bear spray: Legal in most states; check local laws. Effective at 10–15 feet per manufacturer specs. - Door wedges or portable locks: Reinforce locks if you’re parked in sketchy areas. - Headlamp and extra batteries: Visibility deters crime. - Fire extinguisher (Class ABC, 5 lb minimum): RVs have propane, generators, and electrical systems. A fire extinguisher can prevent evacuation.
Assembling Your Kit: Practical Steps
Step 1: Audit your RV’s systems and failure modes. Know what can fail and prioritize accordingly. Class A motorhomes are prone to transmission issues; Class B vans often develop electrical gremlins. Class C units frequently have furnace failures. Check if your furnace uses propane or electric; if propane, prioritize a carbon-monoxide detector in your shelter kit. Ask your dealer or manual which components are most failure-prone on your specific model.
Step 2: Test everything before your first trip. Don’t discover your first-aid kit is incomplete or your jump starter is dead when you’re stranded. Use your kit in a safe setting first.
Step 3: Store strategically. - Power station and tools: Easy-access compartment; you’ll grab these first. - First aid and documents: Waterproof container, labeled and visible. - Food and water: Cool, dark, dry spot (not above the engine). - Shelter items: Overhead cabinet or under a bed.
Step 4: Rotate perishables. Water every 6 months, food annually. Check medication expiration dates.
Step 5: Customize for your travel style. - Full-time boondockers: Prioritize power (larger solar + battery), extended food/water, and repair depth. - Weekenders in established campgrounds: Lighter kit; less food/water; focus on medical and basic tools. - Winter travelers: Heater, thermal protection, and cold-rated sleeping bag non-negotiable. - Solo travelers: Stronger emphasis on security, communication, and medical self-sufficiency.
Common Mistakes to Avoid
- Overpacking unused gear: A 50-lb tool kit is worthless if you can’t carry it or don’t know how to use it. Stick to tools and parts your RV actually needs.
- Ignoring power loss: Many RVers underestimate how fast things go wrong without shore power. A modest power station is worth the investment.
- Expired medications and food: Rotation schedules feel tedious but prevent wasted money and dangerous surprises.
- No backup communication: Cell service is unreliable. A whistle and paper map cost almost nothing.
- Storing items in extreme heat: Per NHTSA testing, RVs can reach 150°F+ in summer. Medications, batteries, and electronics degrade rapidly. Use insulated storage.
FAQ
Q: How much should I spend on an RV emergency kit? A: Budget kits (basic first aid + tools + water). Mid-tier kits (adding a 500–750Wh power station) run. Full-tier kits (1000Wh+ power station + comprehensive tools + heater). Full-timers often invest in mid to full-tier because the cost is recouped in avoided towing and repair fees. Start with what covers your most likely failure modes, then expand.
Q: Can I use a home emergency kit in my RV? A: No. Home kits assume utilities and neighbors. An RV kit must be portable, account for isolation, and include mechanical repair tools. Home kits lack power solutions, vehicle-specific first aid, and tools for engine/plumbing emergencies. Build a dedicated RV kit.
Q: What’s the minimum power capacity I need? A: A 500Wh unit handles phone charging, lights, and a small fridge for 1–2 days. Full-timers should consider 1000Wh+. See How to Choose a Portable Power Station: Wattage, Capacity & Runtime Explained for detailed sizing.
Q: Should I carry a generator instead of a power station? A: Generators are louder, require fuel storage, and annoy neighbors. Power stations are quieter and require no maintenance. For extended boondocking, pair a power station with portable solar panels. See Cheapest Solar Generator for Camping: 2026 Buyer's Guide for cost comparisons.
Q: How often should I test my kit? A: At minimum, once before your first trip. Then annually. Test the jump starter, power station, first-aid supplies, and tools. Rotate water and food. Replace expired medications. A quick annual audit takes 30 minutes and prevents failures when you need the kit most.
Wrapping Up
An RV emergency kit is insurance against the three things that go wrong most: mechanical failure, medical need, and power loss. Build it around your travel style, test it before you need it, and keep it accessible. The kit that saves your trip isn’t the one with the most gear—it’s the one you actually use, know how to use, and maintain.
Start with power (portable power station + solar), first aid, and basic tools. Add shelter, water, and documents. Customize for your climate, RV type, and travel pattern. Rotate consumables. You’ll travel with confidence knowing you’re ready for what the road throws at you.
For deeper dives on specific components, see Best Portable Power Station for RV Camping: Boondocking Guide, Best Solar Panel Setup for RV: Wattage & Installation Tips, and How to Pick the Right Power System for Your RV.